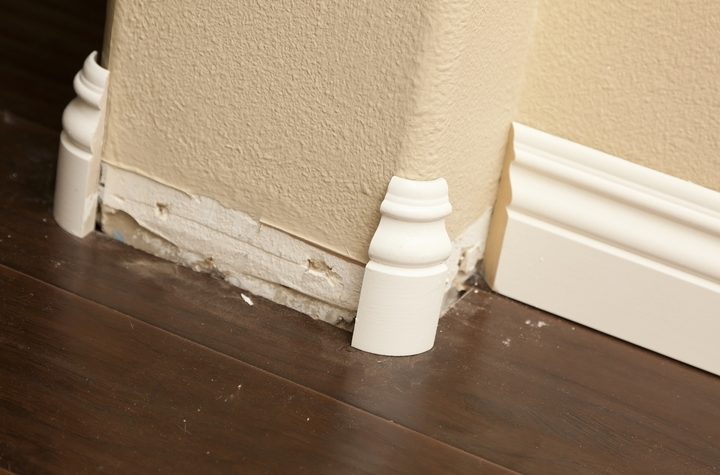
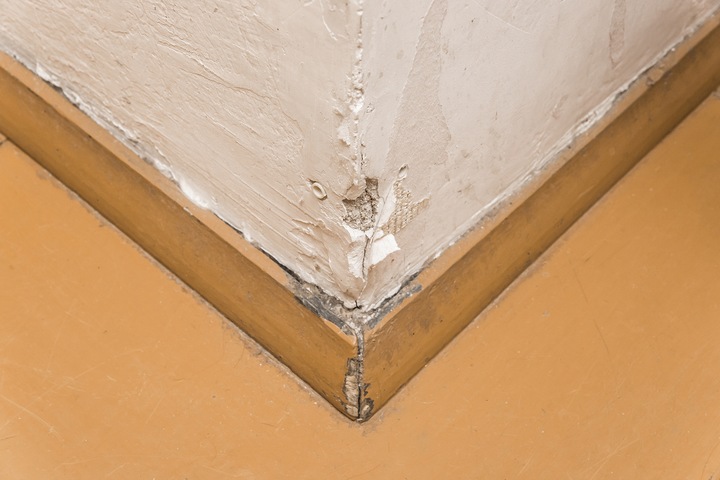
As time goes by, cracks will form on the walls and corners. If you don’t fix it in time, these small cracks could become significant problems requiring major renovation or rebuilding.
There are different ways to repair cracks on walls or in the corner. Here are some standard methods that can help you to fix a cracked wall corner:
1. Fix inward-facing wall corner cracks
You need to have the right supplies and materials when fixing wall cracks. This is especially true when fixing cracks in the corners of walls or ceilings. While the supplies are few, they are easy to acquire. You need a painter’s caulk, a caulking gun, and paper towels. You should also prepare metal corner guards, which will come in handy for preventing wall damages in the future.
Start by thoroughly cleaning the area. Clean the corners from the cobweb, dust and dirt using a damp paper towel. You don’t want dust around the area and inhibit the materials you are working with.
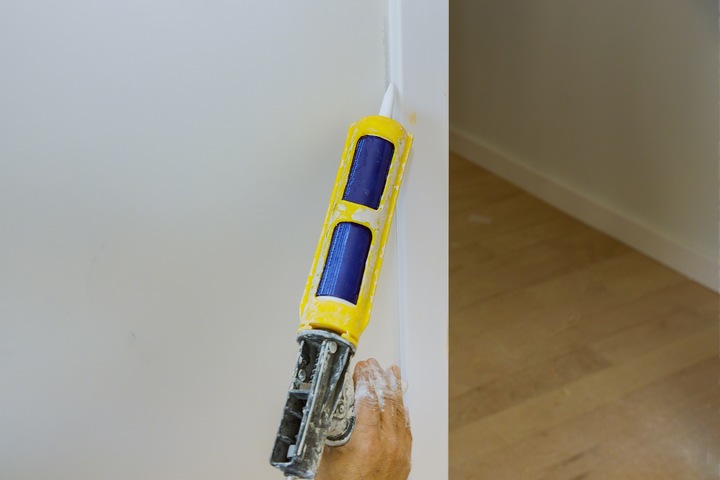
2. Snip the tip of the caulk gun
Cut the caulk tip so you have a nice pointed tip to reach right into the corner of the wall. Cut the caulk at an angle to reach the farther end of the corner when you administer the caulk.
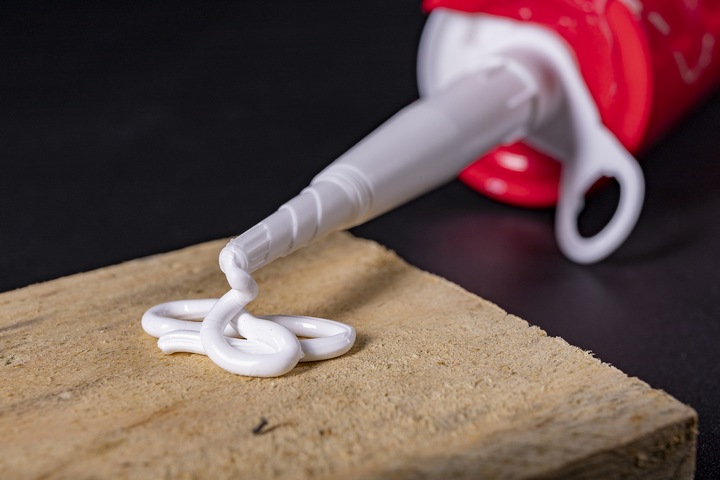
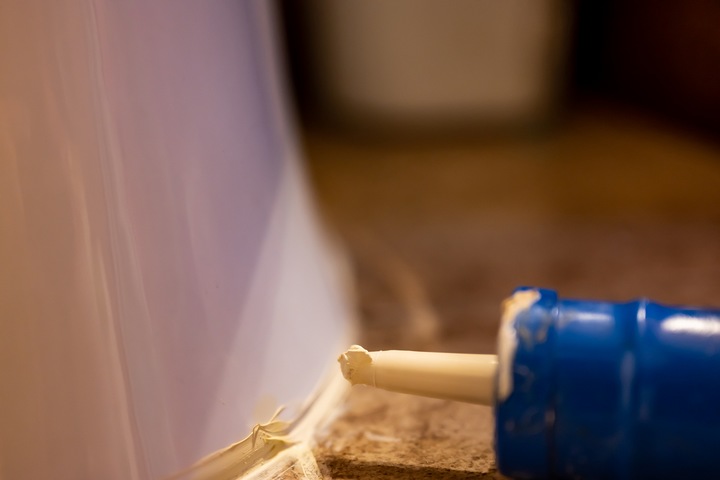
3. Apply your caulk
Gently release a small flow of caulk by squeezing the caulking gun. While you squeeze it, you must simultaneously move the caulk gun down or across the wall to cover the entire crack. Make sure to move in a steady, even motion and release a consistent caulk stream.
Keep in mind that you don’t need a huge amount of caulk. A small amount goes a long way because excess caulk could make things dirty and messy.
4. Use your fingers
One of the best ways to firmly press the caulk into the crack is to use your fingers. Use gloves or even paper towels with your fingers to firmly press the caulk and flatten it out.
Another way to fix inward-facing wall corners is by using plaster instead of caulk. You need a putty knife, plaster, paintbrush, and water in a bucket. Again, you need to clean the area you are working with to free it of dust, dirt, debris and cobwebs.
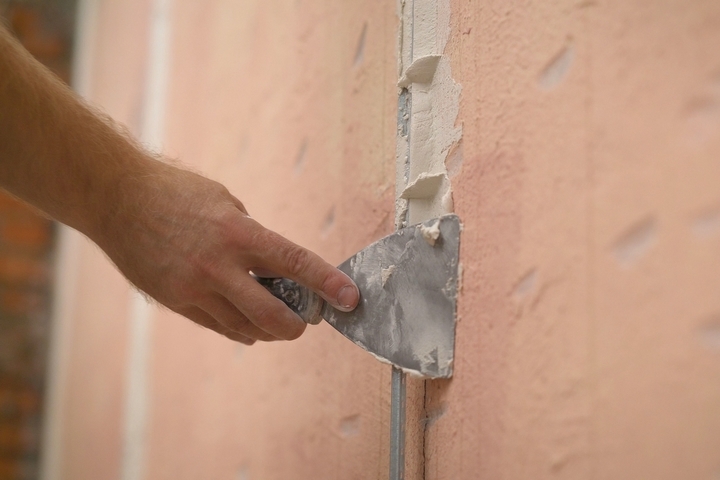
5. Apply the plaster
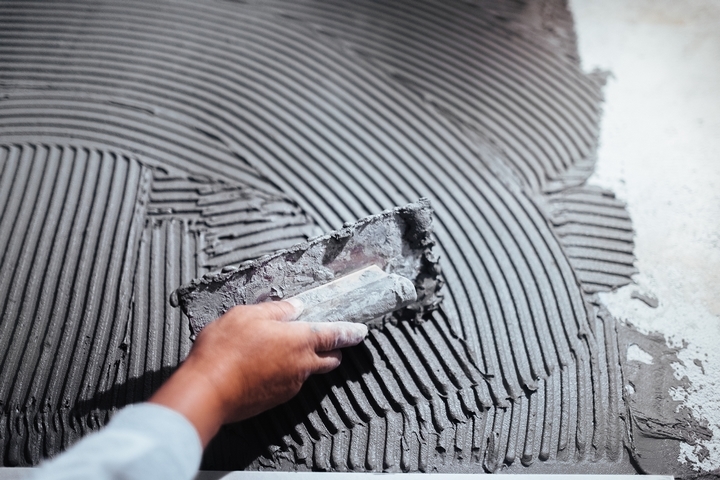
Apply some plaster and feather the plaster out using a putty knife. Don’t worry about making it perfect because you can later sort out the mess or application. For now, your objective is to cover the crack with enough plaster.
6. Use a brush
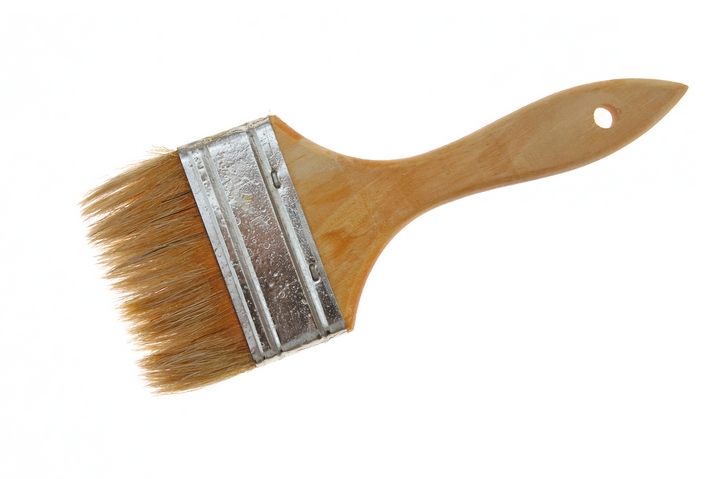
Once you have added the plaster to the corner of the wall, you can now smoothen it out. Use a brush and wet it with a little bit of water. Run it down the corner of the wall to remove any access plaster. Ensure to rinse the brush frequently and then run the brush on the cracked corner again until all excess plaster is removed.
Once all the excess plaster has been removed, you can use the same brush to eliminate sloppy spots. Using a brush for this technique would help the plaster achieve a consistent look with the wall’s texture and blends well once it’s all dry.
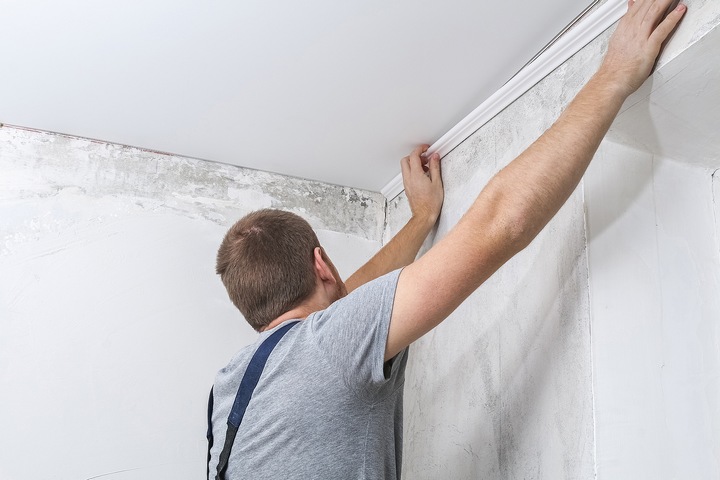
7. If you are fixing an outward-facing wall corner
If the problem is a cracked outward-facing wall corner, you’ll need a joint compound or spackle, a damn sponge, a putty knife, a vacuum, and 120 or 200 grit sandpaper. You may already have these in your garage or storeroom, so it’s not an overwhelming collection of items that you’ll need.
8. Break the loose wall away
The outside corners get cracked easily and badly because it’s prone to things, objects and people running into them. The first thing you need to do is use a sharp item such as a putty knife to break away the loose or weak drywall. Clean the area from dirt and debris with a vacuum cleaner or a damp cloth.
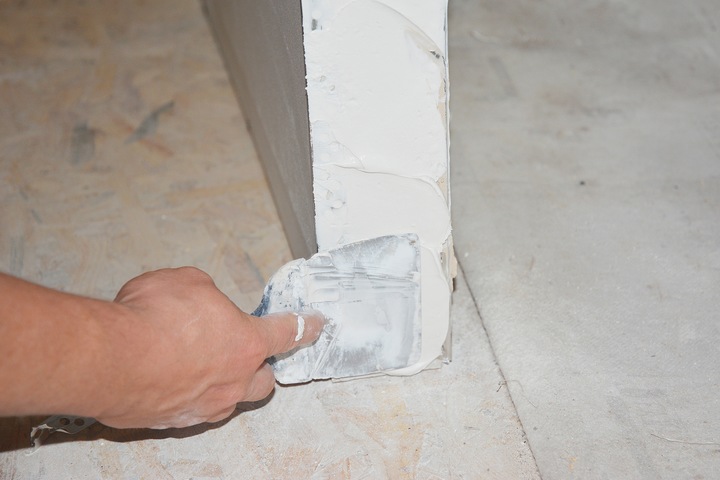
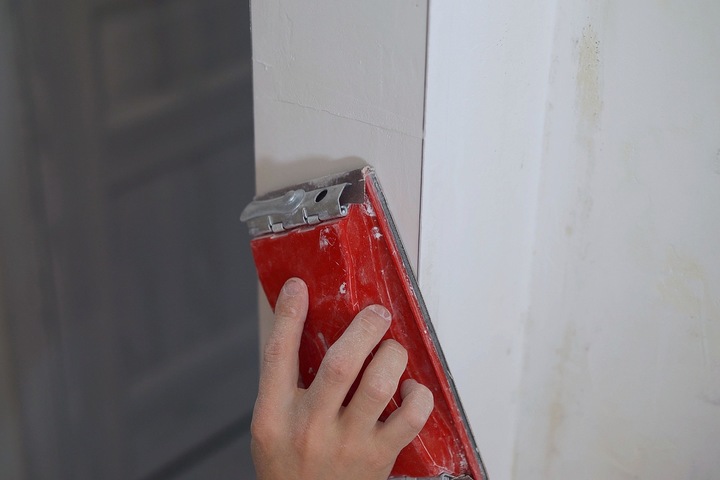
9. Apply the putty
As you would with an inward-facing wall, use a putty knife to apply putty to the cracks and scrape away the excess. Start on one side of the wall and move to the other, working from one corner to the other. This technique is called feathering, and it helps to smooth the putty so that it blends into the rest of the wall.
Start on one side and move to the other, working from the corner of the wall out onto the wall. This is called feathering and helps the repair blend in with the rest of the wall. Once you’re finished, wait for it to dry.
10. Sand and repeat
With 120 grit sandpaper, sand the area and vacuum up the dust so it doesn’t fly everywhere. Next, use a sponge to dampen the area and then apply a second coat of putty to fill in the areas. Sand again, and allow the second coat is fully dry, preferably overnight. Once it’s thoroughly dried, you need to get the area ready for priming and painting.