Wall corners take their fair share of abuse. From moving furniture to run-ins, trips, falls, and more, damage and dents are the norm on wall corners. If it hasn’t happened yet, it eventually will. Fortunately, there are a few ways to fix this sort of damage.
The length of time and effort it takes to repair a wall corner varies. If you’re using a compound and putty knife to do the deed, it requires drying time which increases your investment on the job. Comparatively, installing something like metal corner guards is as easy as can be. It involves slapping on a heavy duty adhesive, spreading it, and applying the corner guard.
This process takes only a few minutes, though there are other ways to put in a corner guard depending on what type of wall you have. Here is more information on how to install corner guards:
Step #1: Get Your Tools

Read through what needs to be done and then set out on getting the right tools for the fix. This likely will include some kind of putty knife, a 5-in-1 tool, a compound, screws or nails, a screw gun or hammer, taping knife, a dust mask for protection, and medium sandpaper.
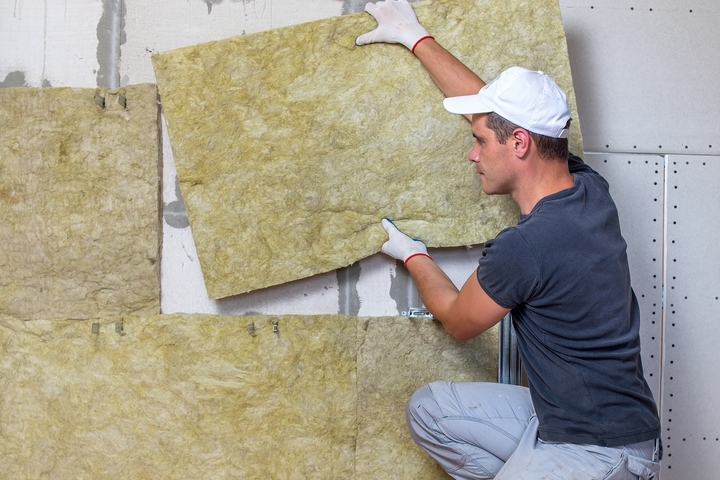
Step #2: Address the Cause

If your wall corner is damaged, hopefully, you know how to install corner guards. In some cases, you can experience cracks in the corners for a variety of reasons. Drywall, for example, can crack with temperature fluctuations or other forms of stress on the property.
If you’re constantly having to repair wall corners or cracks, invest in addressing the root cause. This could mean installing a corner guard to minimize the risk of visible damage.
Step #3: Remove Anything Loose or Broken
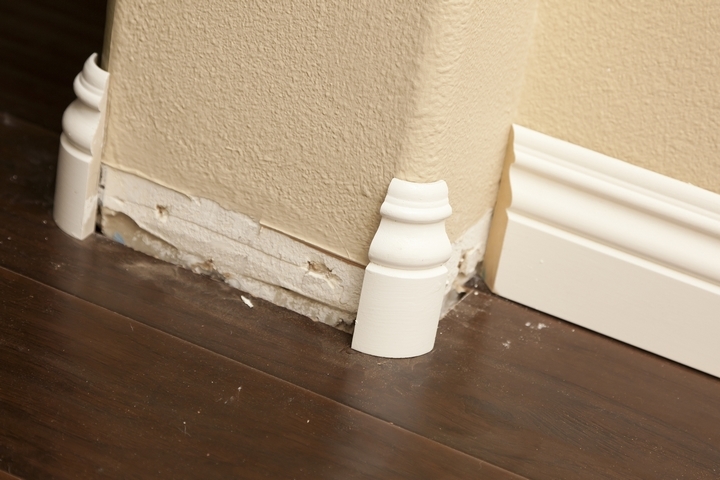
If it is a chipped wall corner, use a tool of your choose to ensure any loose or broken pieces are removed. Before you start in on whatever repair you’re going to make, anything that’s loose doesn’t serve a purpose.
Step #4: Exposing the Damage
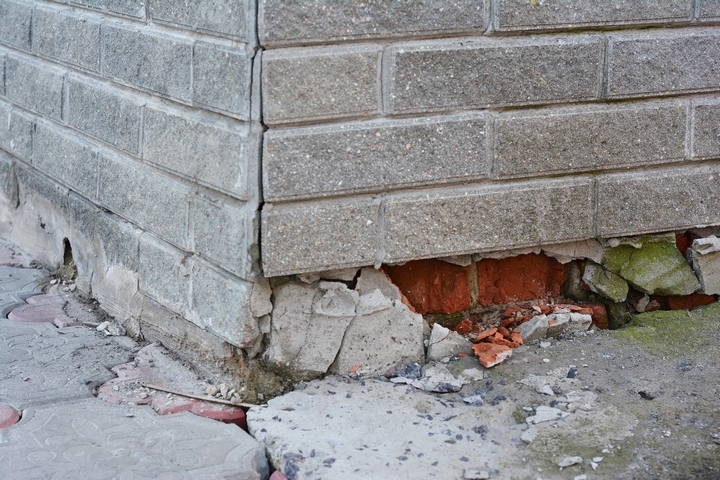
Depending on what the damage is, sometimes it isn’t just a chip. It could be a deep dent or a hole. Before you begin your repair, you have to set your canvas up properly. You will likely be required to remove more than what’s actually damaged so that you have full access to the corner.
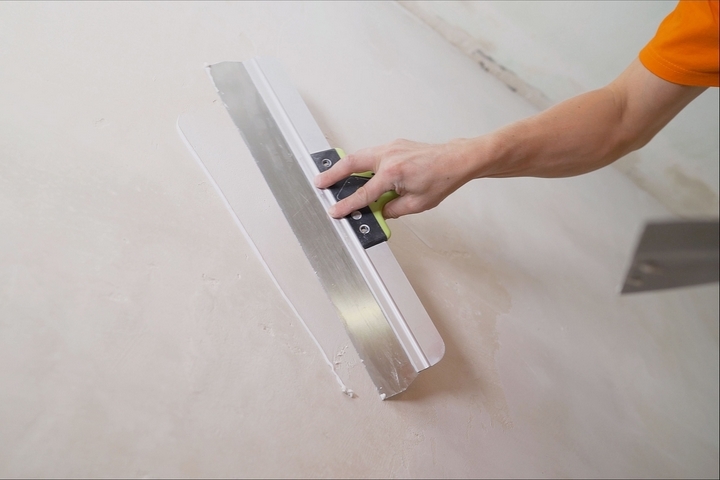
Step #5: Using a Putty Knife to Fill the Area
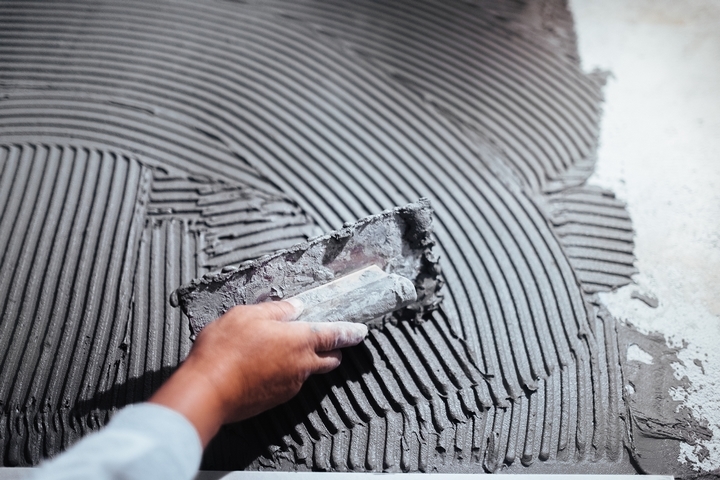
After the broken pieces are moved, you can use a small vacuum if you have one to remove all dust. Some people also choose to give it a quick clean with a damp cloth.
Wipe away any dirt and dry it. Once dry, use a putty knife and a product of your choose to fill the chipped area, smoothing it out to create an entirely flat surface.
Step #6: Use Your Sandpaper to Achieve Flatness
Once your putty has fully dried, the next step is to use some sandpaper to ensure the surface is completely flat. This will create some dust and so if you have a handheld vacuum, use it afterwards.
Step #7: Dampen Again and Apply Compound

You’re not done yet. Take a damp cloth and gently dampen the area again. Now go over any remaining imperfections with compound once more. You will repeat the whole process again using sandpaper and getting rid of any dust the process creates.
Step #8: Prime and Paint the Repair
Once dry, the process is almost complete. The next step is to prime and paint the area for cohesiveness with the rest of the wall. Some property owners take this opportunity to repair the entire wall although this isn’t necessary by any means. All you have to do is make sure the wall corner matches up in paint color to what’s around it.
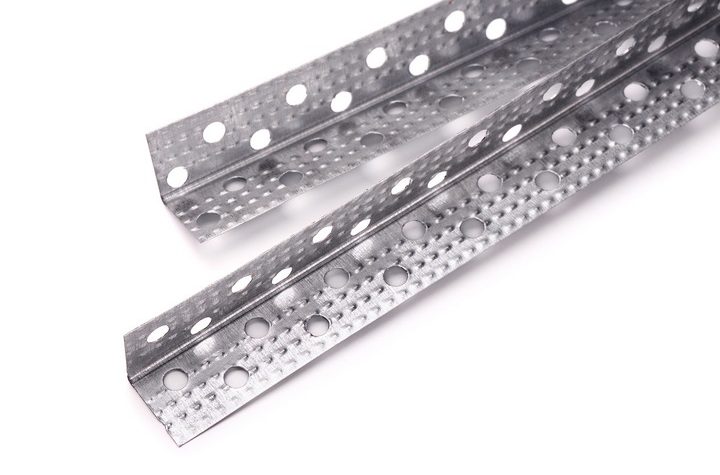
Step #9: Installing a Corner Bead
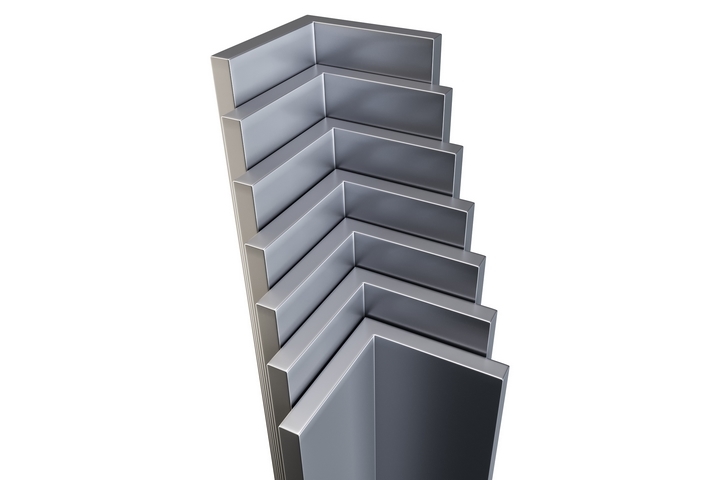
Significant damage to your wall corner may have you reaching for a corner bead to install alongside the drywall mud or product you are using to fix the repair. Corner beads are very advantageous, resisting cracks and chips better than a regular wall can.
Let’s say you already have a corner bead installed and a section of it becomes damaged. Replacement is best. To do this, you will have to remove the corner bead without causing increased damage to the wall corner and then, apply a new corner bead in its place.
Step #10: Installing a Corner Guard
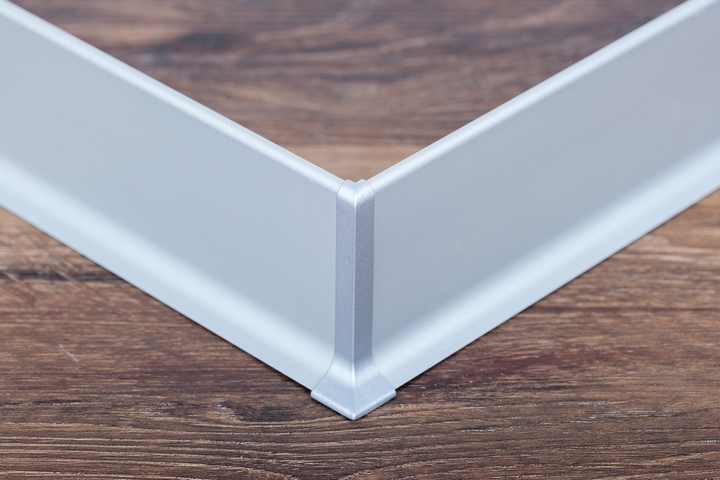
To take things a step further, corner guards are made from stainless steel, aluminum, and other materials. They offer heavy-duty protection and are used in a variety of buildings from government, healthcare, and education to commercial warehouses. They are the best 360-degree protection your wall corner can have.
If there’s a serious risk of continued wall corner damage, choosing a corner guard is probably your best bet at ensuring you aren’t routinely repairing and fixing.