
The market on grain is driven by weather and difficult-to-predict trade agreements. Any grain farmer looking to get ahead has got to plan. Setting up long-term grain storage is a must to get the most from your labour. Doing so will give you the chance to effectively market your grain, holding what you have into the summer and possibly longer.
Here are some tips for long-term grain storage to keep in mind when considering how you’re going to go about it.
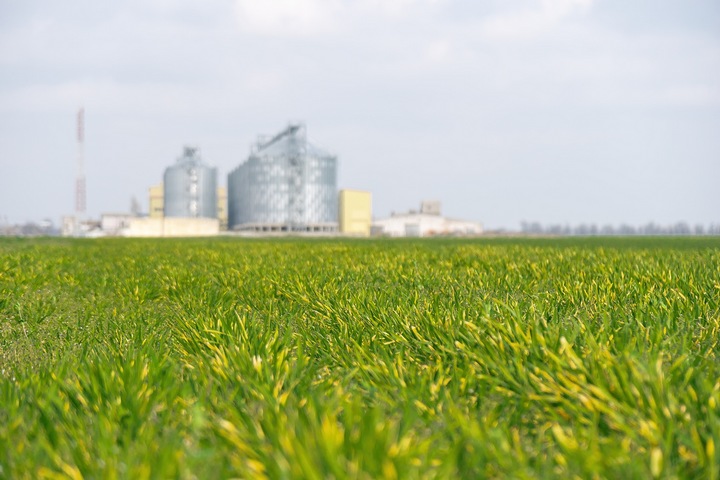
Tip #1: Set up your grain bins
Make sure your storage facility is properly clean and that you have the bins you need for long-term storage. Install any equipment you might be missing or need replacement, i.e. temperature monitoring cables.
Tip #2: Monitor grain temperature

It is critical that temperature is done right when storing grain. Aeration will help with this. You can also use grain bin temperature monitoring systems for accuracy and precision. The exact temperature to aim for will depend on your region and season.
Tip #3: Inspect for insects
Carefully clean out your grain bins and eliminate all grain that could have insects in them. Check under the floor where insects can hide. If you had an insect infestation last year in your facility, fumigate at least five weeks before when you need to use the bins. Ensure everything’s been thoroughly cleaned before grain storage season.
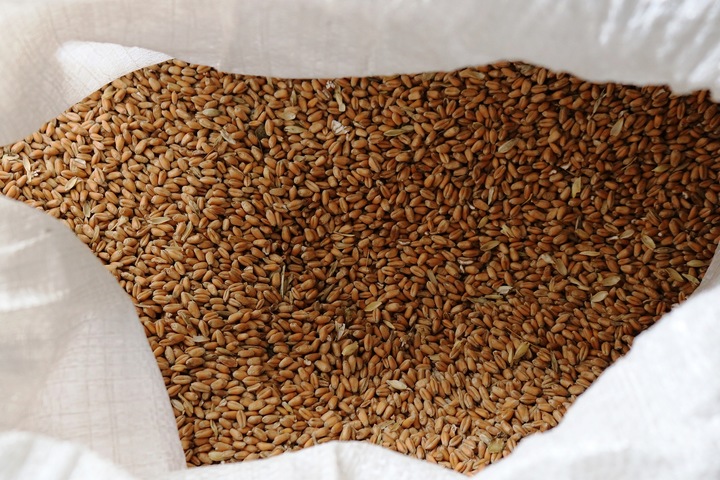
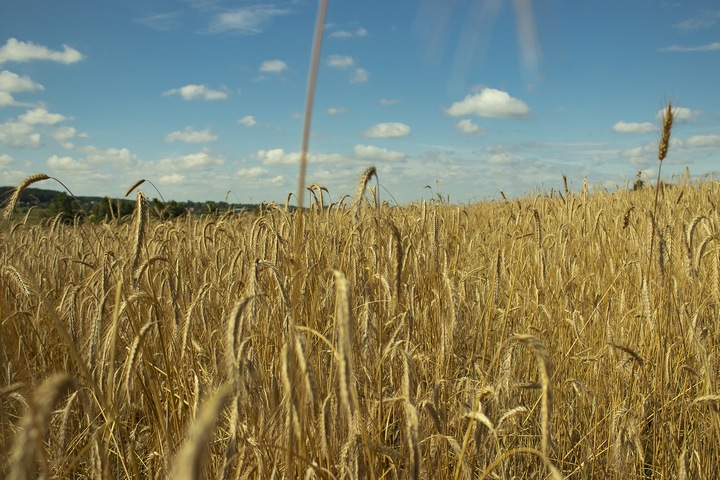
Tip #4: Store the best quality grain
The quality of the grain determines how well it’s going to store. Always start with mature, high-quality grain. You will know the grain when you see it. Any grain with lots of fines or damaged kernels is likely to be hard to store. If the grain is not likely to succeed in long-term storage, avoid putting it there.
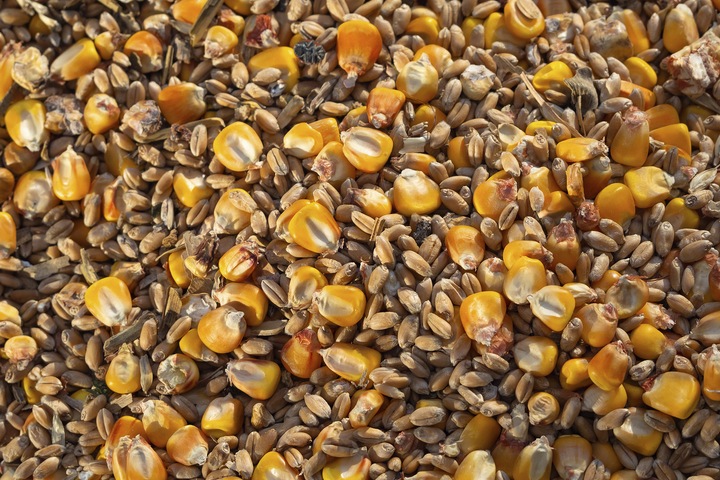
Tip #5: Don’t add new grain to old
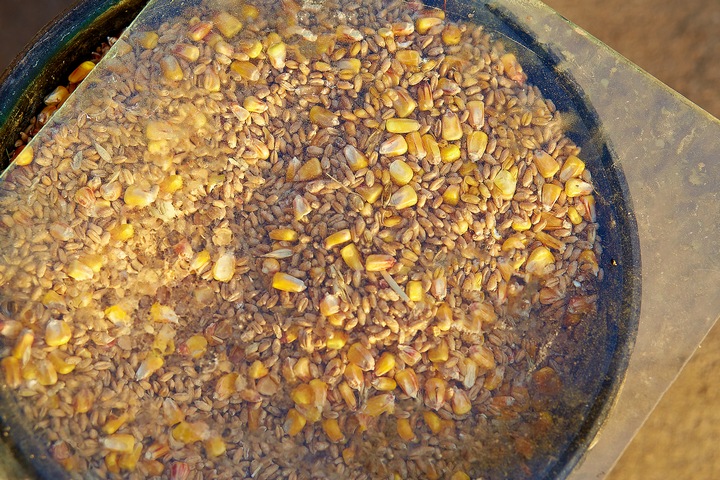
Freshly harvested grain is the best quality grain there is. Storage does not improve quality in any way. Mixing new grain that’s not yet stable with old grain could mean storage issues. This is why it’s best to never mix the two. If you must mix though to make room for this year’s grain, combine all the old grain before cleaning and preparing the bins to store the new harvest.
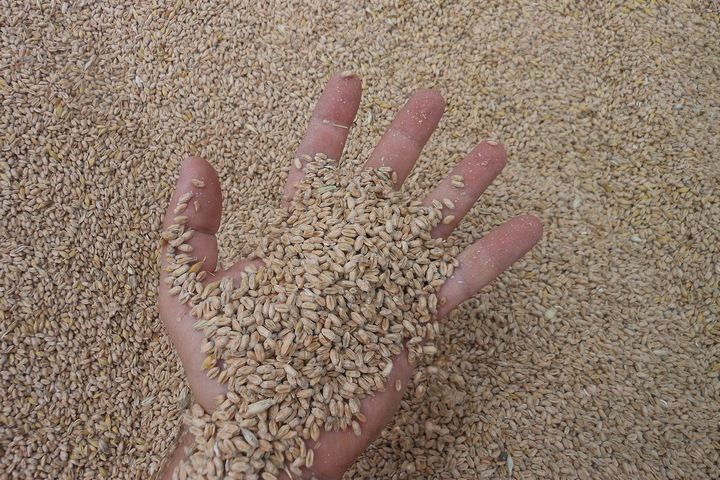
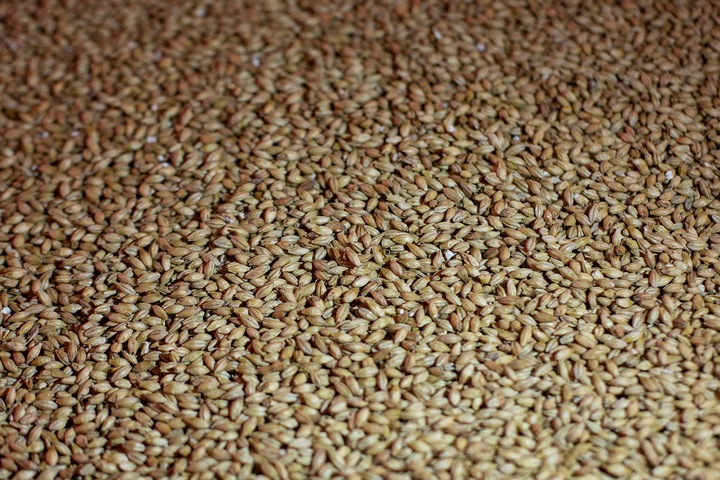
Tip #6: Test grain weight

During the initial grain inspection, test its weight as well. A high test weight means it has good fundamentals for storage. Most kernels shouldn’t have cracks where you know mould can start. The minimum test weight for long-term grain storage is 58 pounds per bushel, and anything above is excellent.
Tip #7: Improve aeration
Aerate your grains with a grain spreader or by getting into the habit of repetitive coring. Remember that air takes the path of least resistance, and fines are known to gather at the center. Left unaddressed, air will come upon the outside, and the center will spoil. A way around this is pulling out 300 bushels of grain every 10-15 feet if you’re loading directly into the bin.
Tip #8: Adjust temps in summer
The grain should be kept cool at about 40 degrees Fahrenheit during spring and summer. If the intention is to sell by June 1, keep the grain cool. If you’re selling it later, you might want to bring up the temperature to 50-60 degrees Fahrenheit, although some disagree with this approach. Lower temperatures are better. Remember, insects and mould come in the 70-90 degree range.
Tip #9: Limit wet holding times

You are holding wet grain before drying eats into long-term storage times quickly. At most, your wet holding time shouldn’t be longer than 4-8 hours.
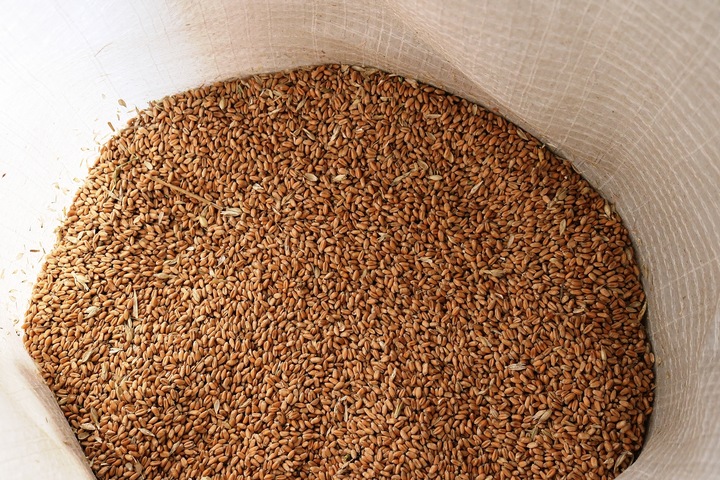
Tip #10: Dry to the correct moisture
The grain needs to be dried to a lower moisture level for long-term grain storage. This is not something you want to change or make assumptions about. Ensure you have the right maximum allowable storage life measurement. Calculate incorrectly, and you might not prevent mould growth, effectively ruining batches of grain.
Tip #11: Level your grain
In general, your aeration fans will have to run for about 50% more time if it’s peaked grain compared to level grain. Do not peak grain to add storage capacity as the airflow resistance does more harm than good. It also will create a situation where the grain is more difficult to monitor.
Tip #12: Check your grain weekly

Every week, climb to the top. Examine to see if there’s a crust or smell. If there’s an increase in surface moisture, something’s wrong. Start your aeration fans. If this doesn’t resolve it, unloading the bin to where the affected grain is and manually removing it is your only option. This will, unfortunately, mean marketing grain early and potentially poor-quality grain if it does happen.
Tip #13: Always look out for insects
All it takes is 14-21 days to go from one or two insects to a total infestation during spring and summer. Take corrective action when you catch insects. Don’t let the problem persist. Some farmers choose to set insect traps to see any trouble present. If there is, your grain will need to be treated.